Creating a Website
Let's create a web page using the design you've created in Figma.
TIP
In the following sections, we'll be using the Workbench UI Kit, an official design template provided by Workbench.
Please use this as a resource to learn how to use Workbench.
Opening the Site Editing Screen
Open the Figma file you want to use, and navigate to the page containing the frames you ultimately want to use for your web pages.
WARNING
Currently, the Workbench plugin can only select frames that are on the open page. If your frames are spread across multiple pages, please consolidate them onto a single page beforehand.
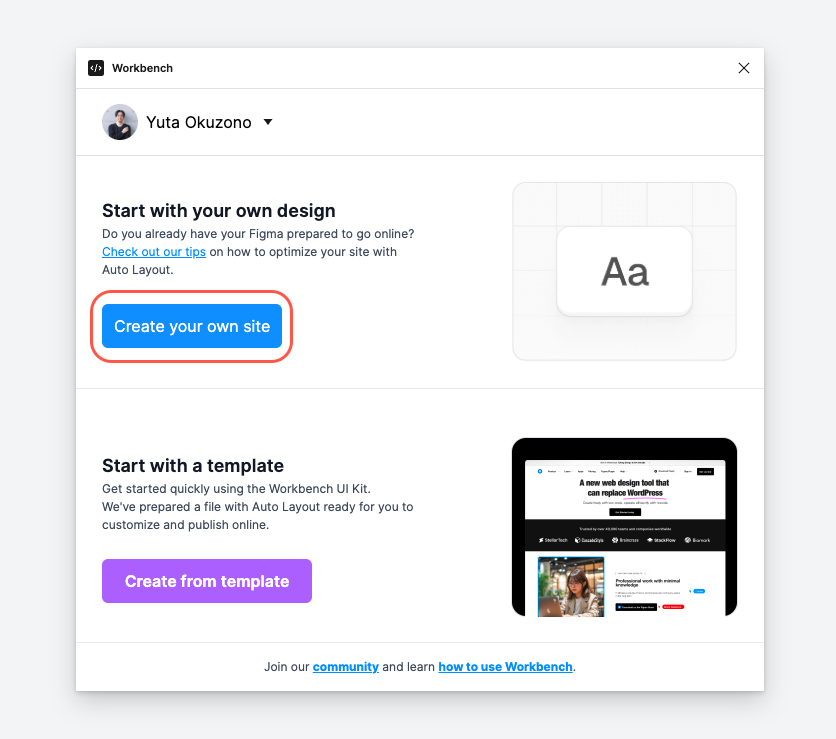
Open the Figma plugin and click the button to create a site.
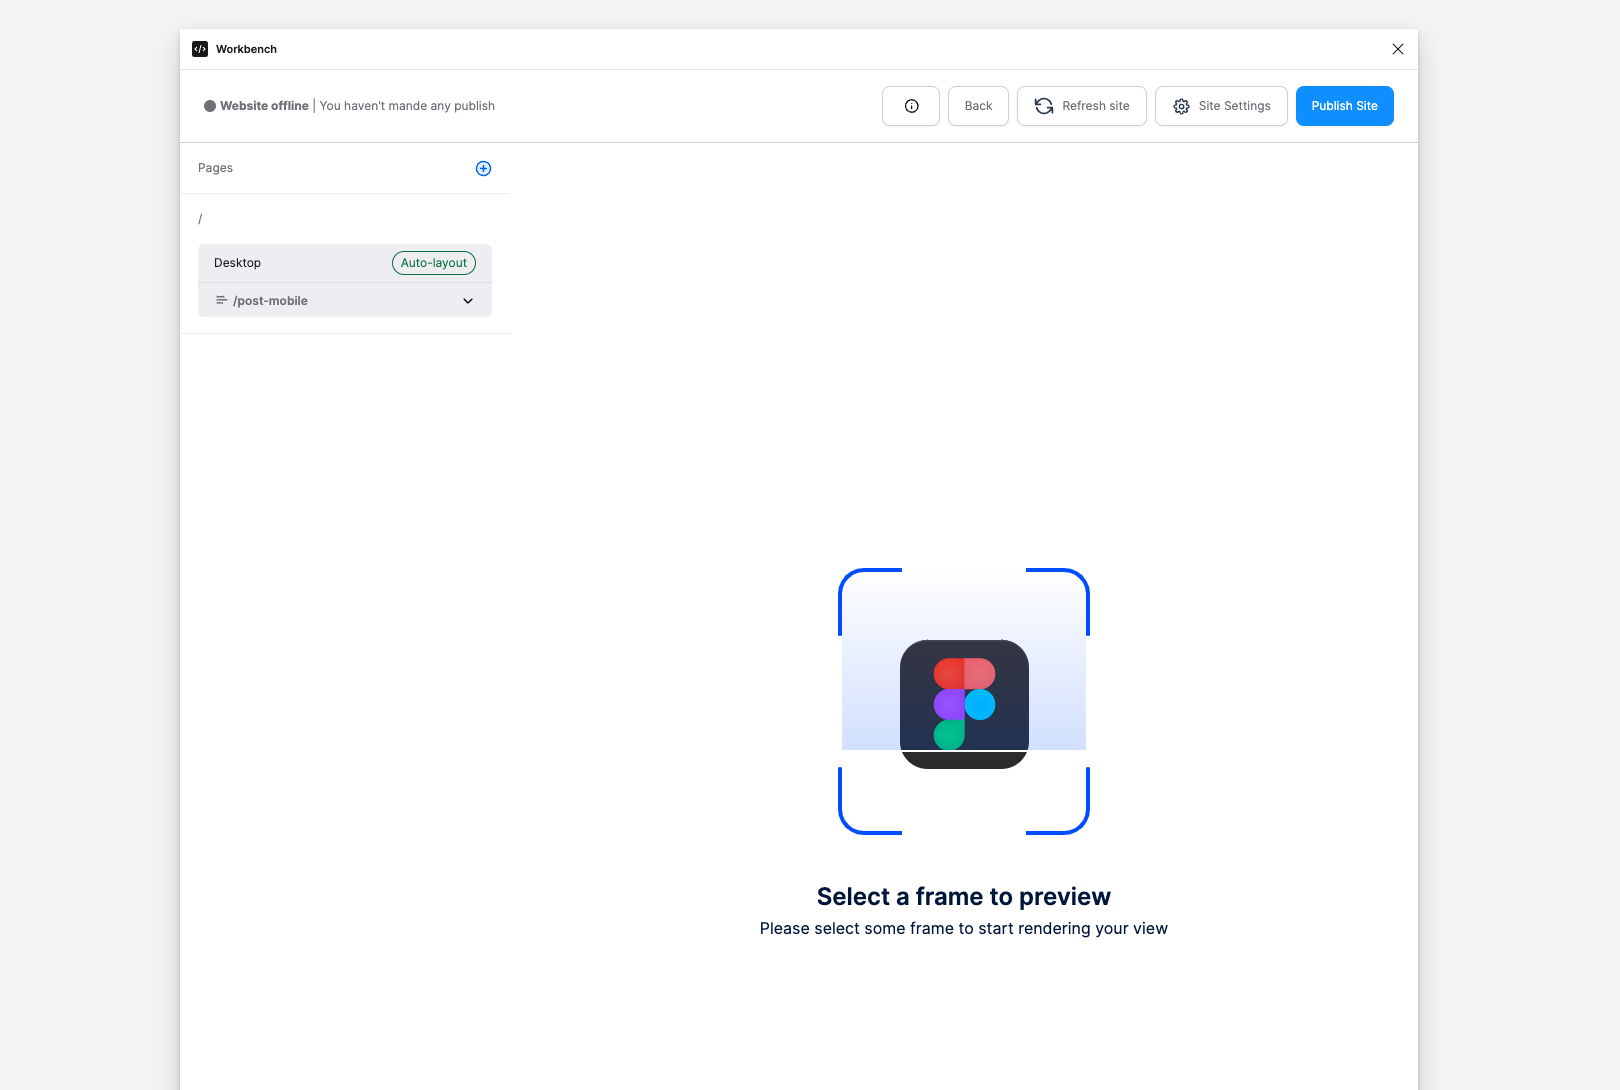
You'll then see a screen like this:
Page Settings
Next, let's configure the page settings.
On the left side of the editing screen, you'll see a list of pages. The page information is displayed as follows:
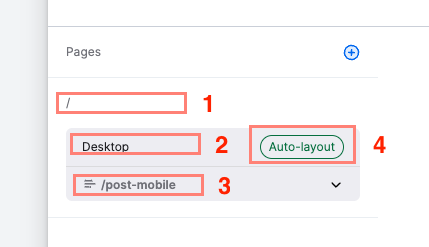
- Web Page Path This is the page path when it becomes a website.
/means the homepage. In the case of/page, it will be converted to a page accessible athttps://your-domain.com/page. - Breakpoint This is the name of the breakpoint.
- Frame The name of the frame linked to this breakpoint is displayed here.
- AutoLayout Status This shows whether the selected frame is using AutoLayout or not.
To add a new page, click the + button in the top right. You can create a new page by selecting the path and the breakpoint you want to use.
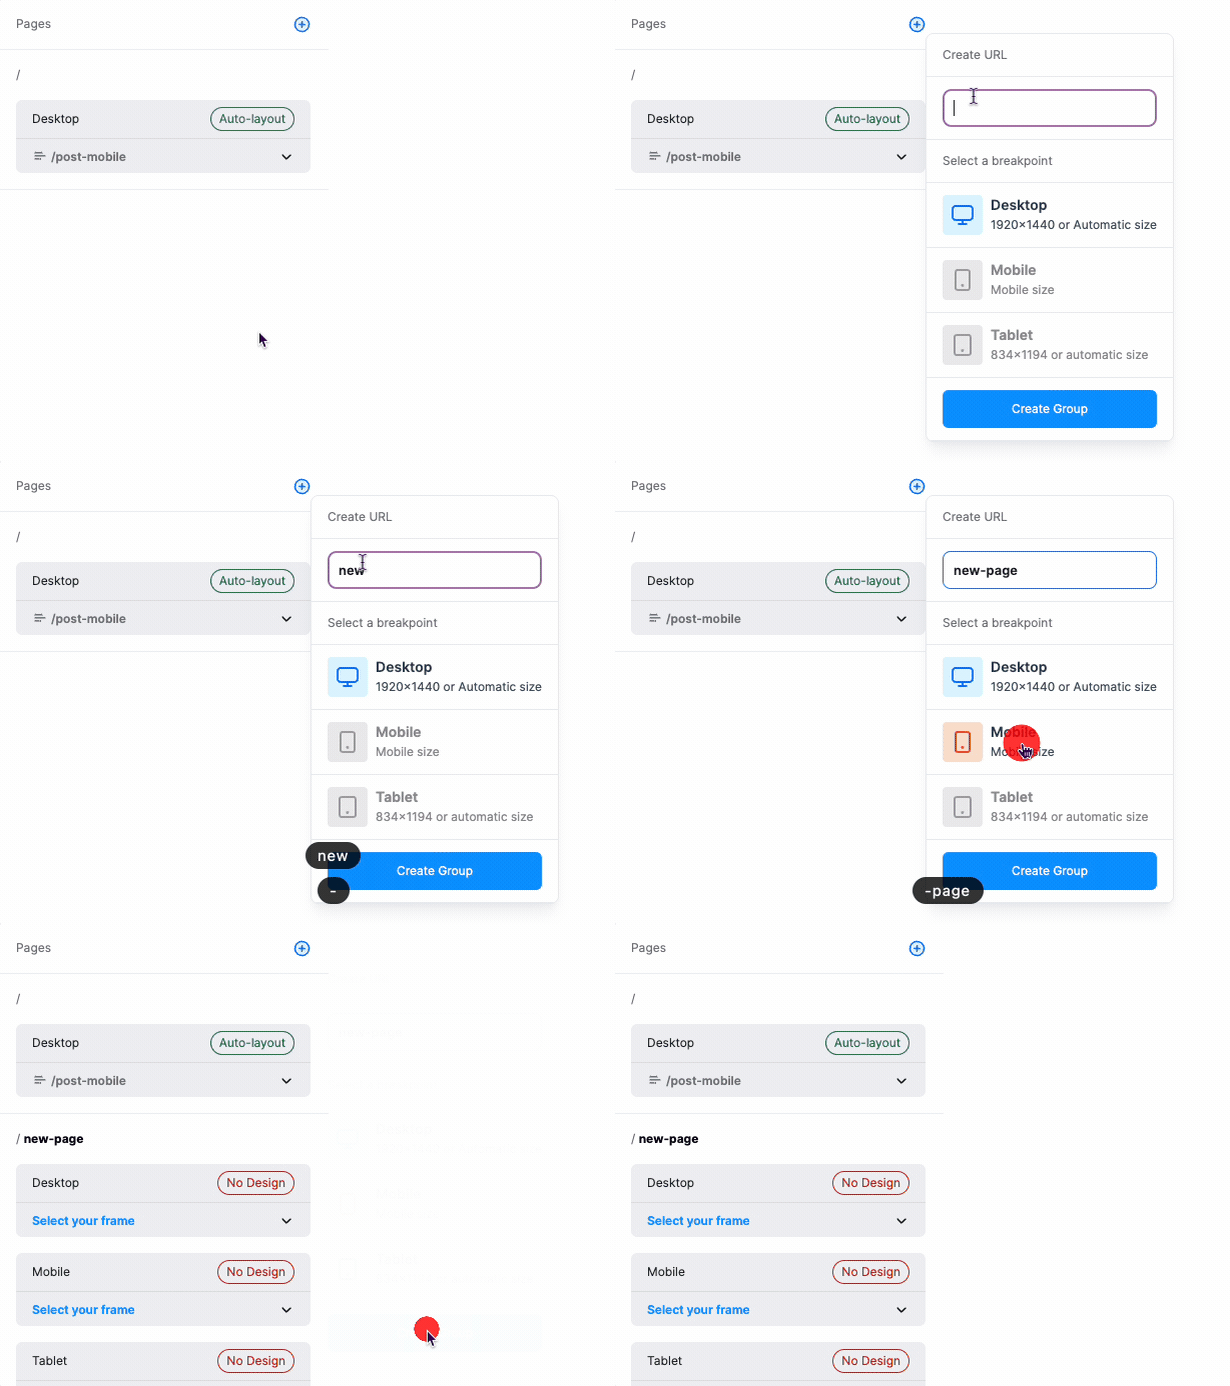
To edit an existing page, right-click on the breakpoint of that page and select edit.
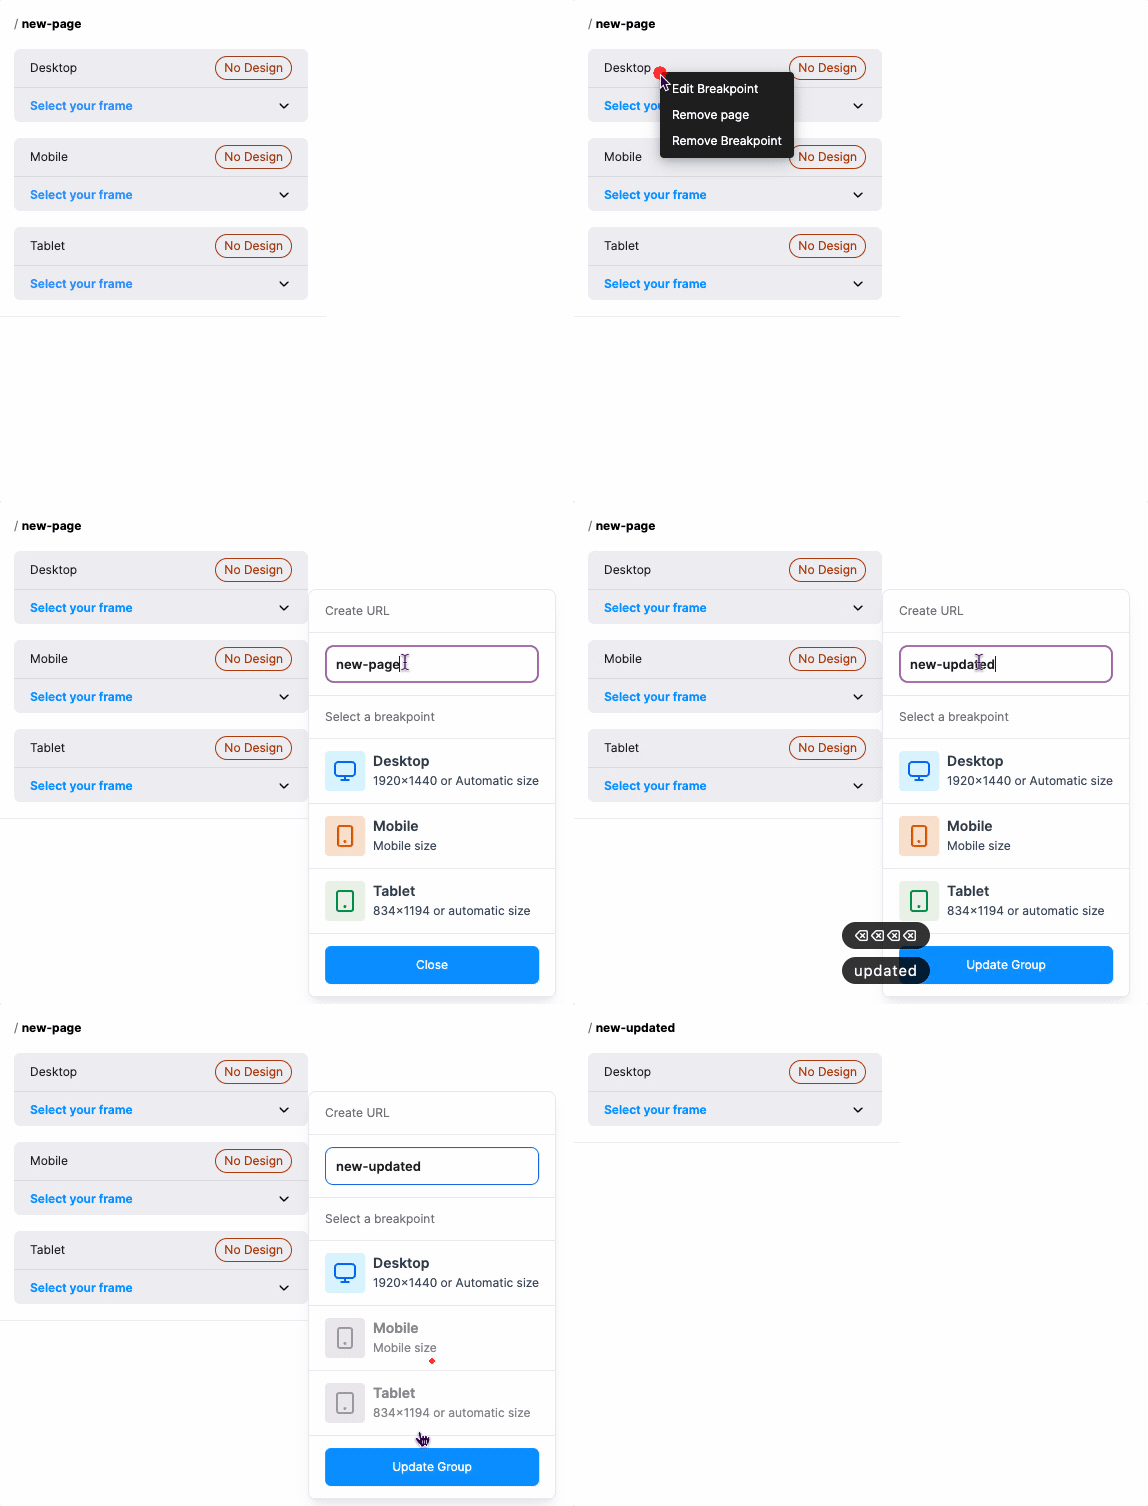
About Breakpoints
Workbench supports responsive sites. It's possible to switch the displayed frame according to the screen width. The screen width breakpoints are as follows:
| Breakpoint | Corresponding Screen Width |
|---|---|
| PC | 993px ~ |
| Tablet | 578px ~ 992px |
| Mobile | ~ 577px |
Checking the Preview
Once you've completed the page settings, let's check how the created web page will be displayed.
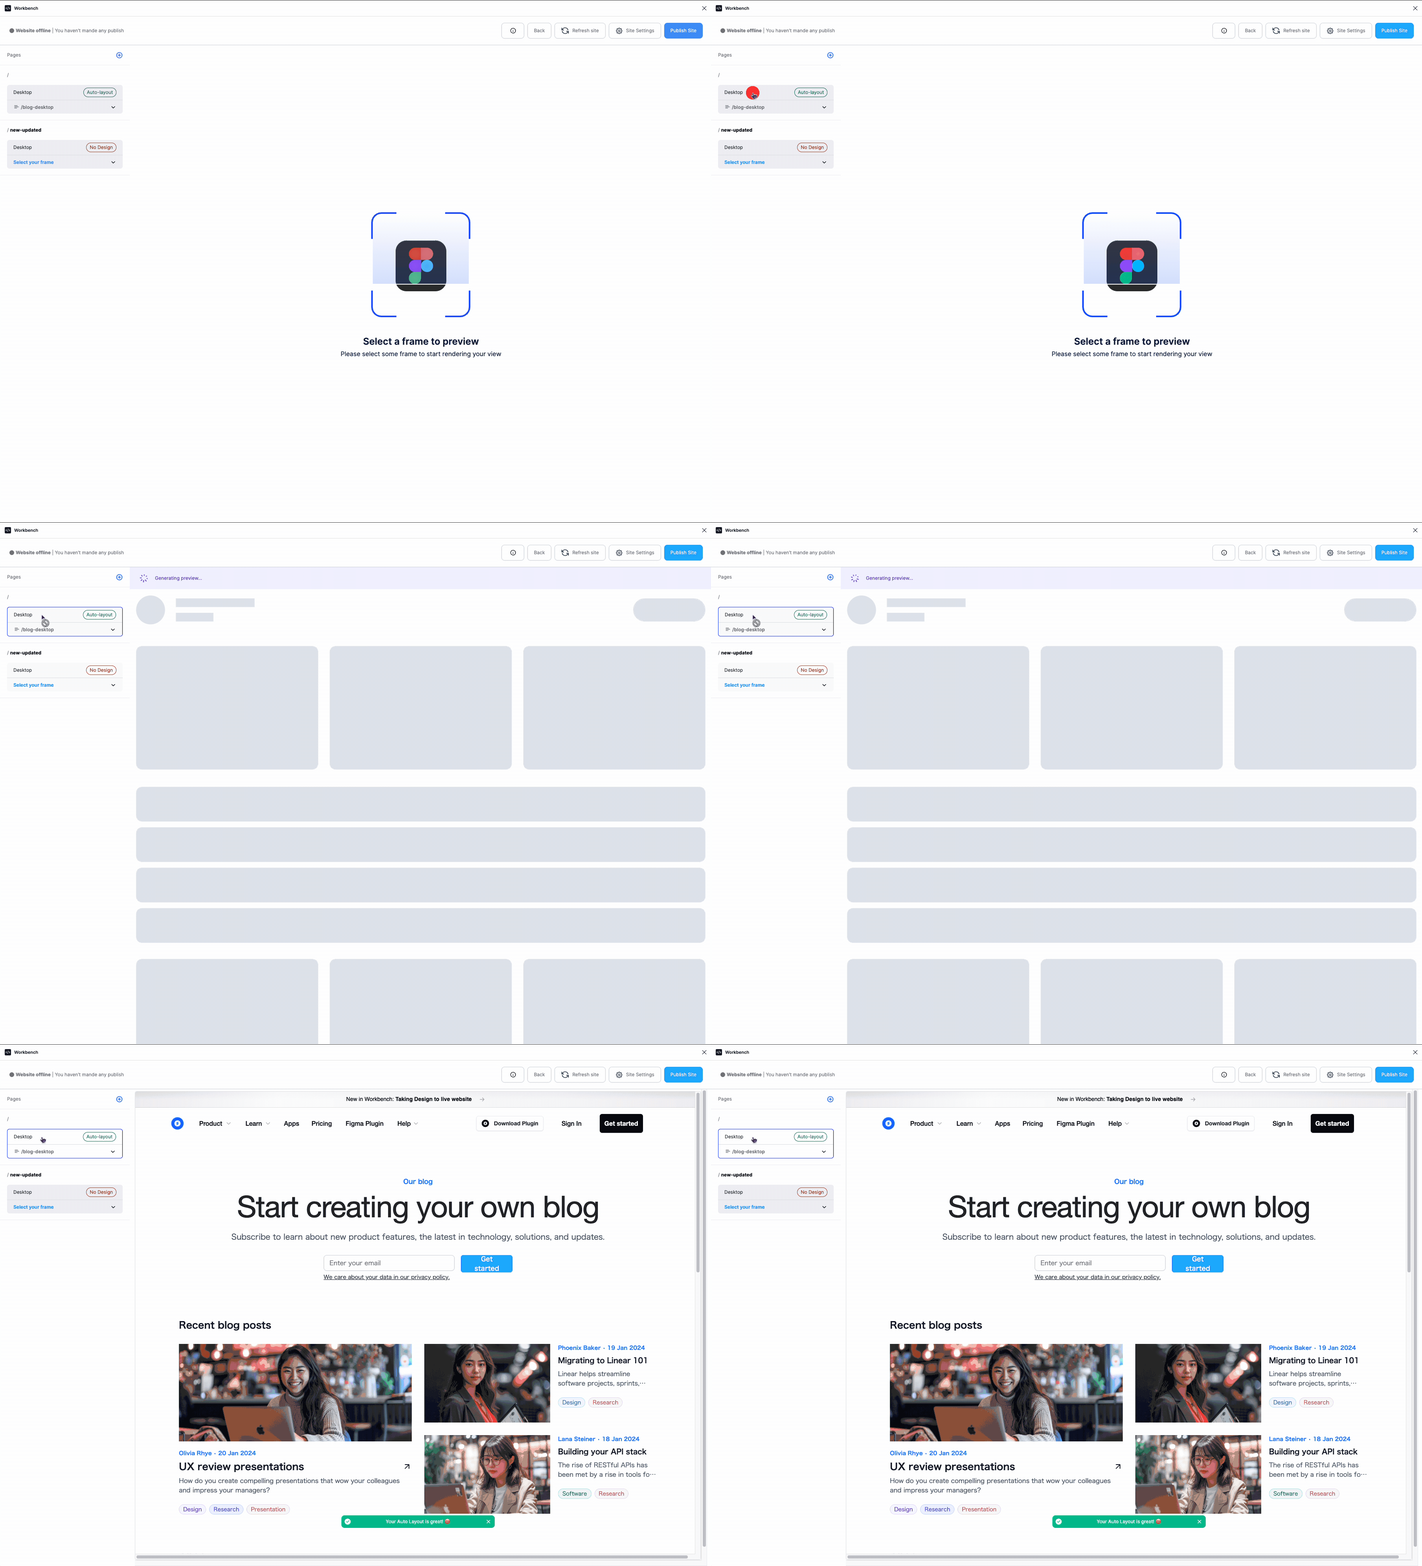
You can check the preview for a breakpoint by clicking on it.
