Connecting a Custom Domain
With Workbench, it's possible to make your site accessible using any domain you own. This feature is called Custom Domain in Workbench.
Opening the Custom Domain Settings Screen
After releasing your site at least once, click on the settings icon on the page editing screen or the home screen.
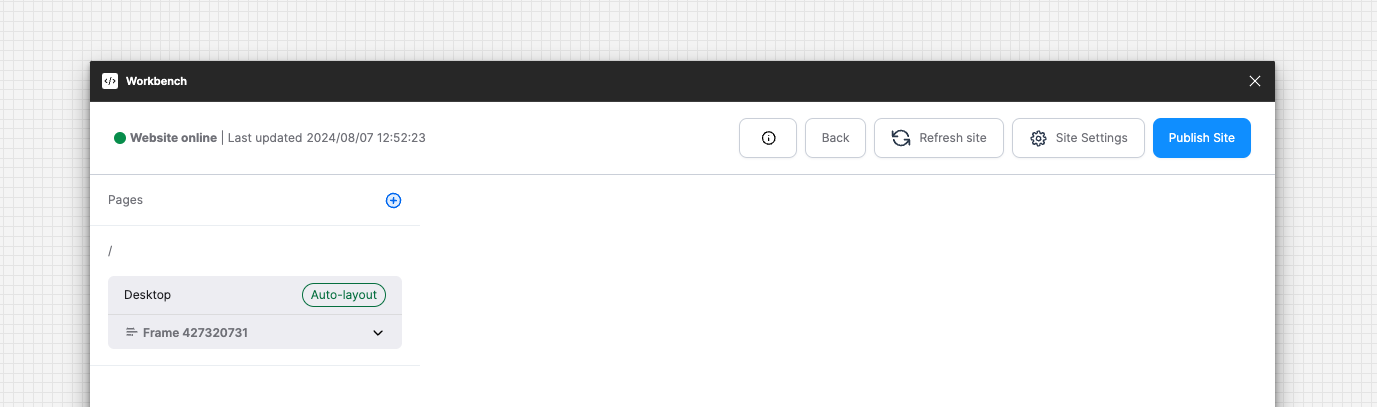
Click on "Custom Domain" and then click the "Set up" button.
Clicking the button will open the custom domain settings screen in your browser.
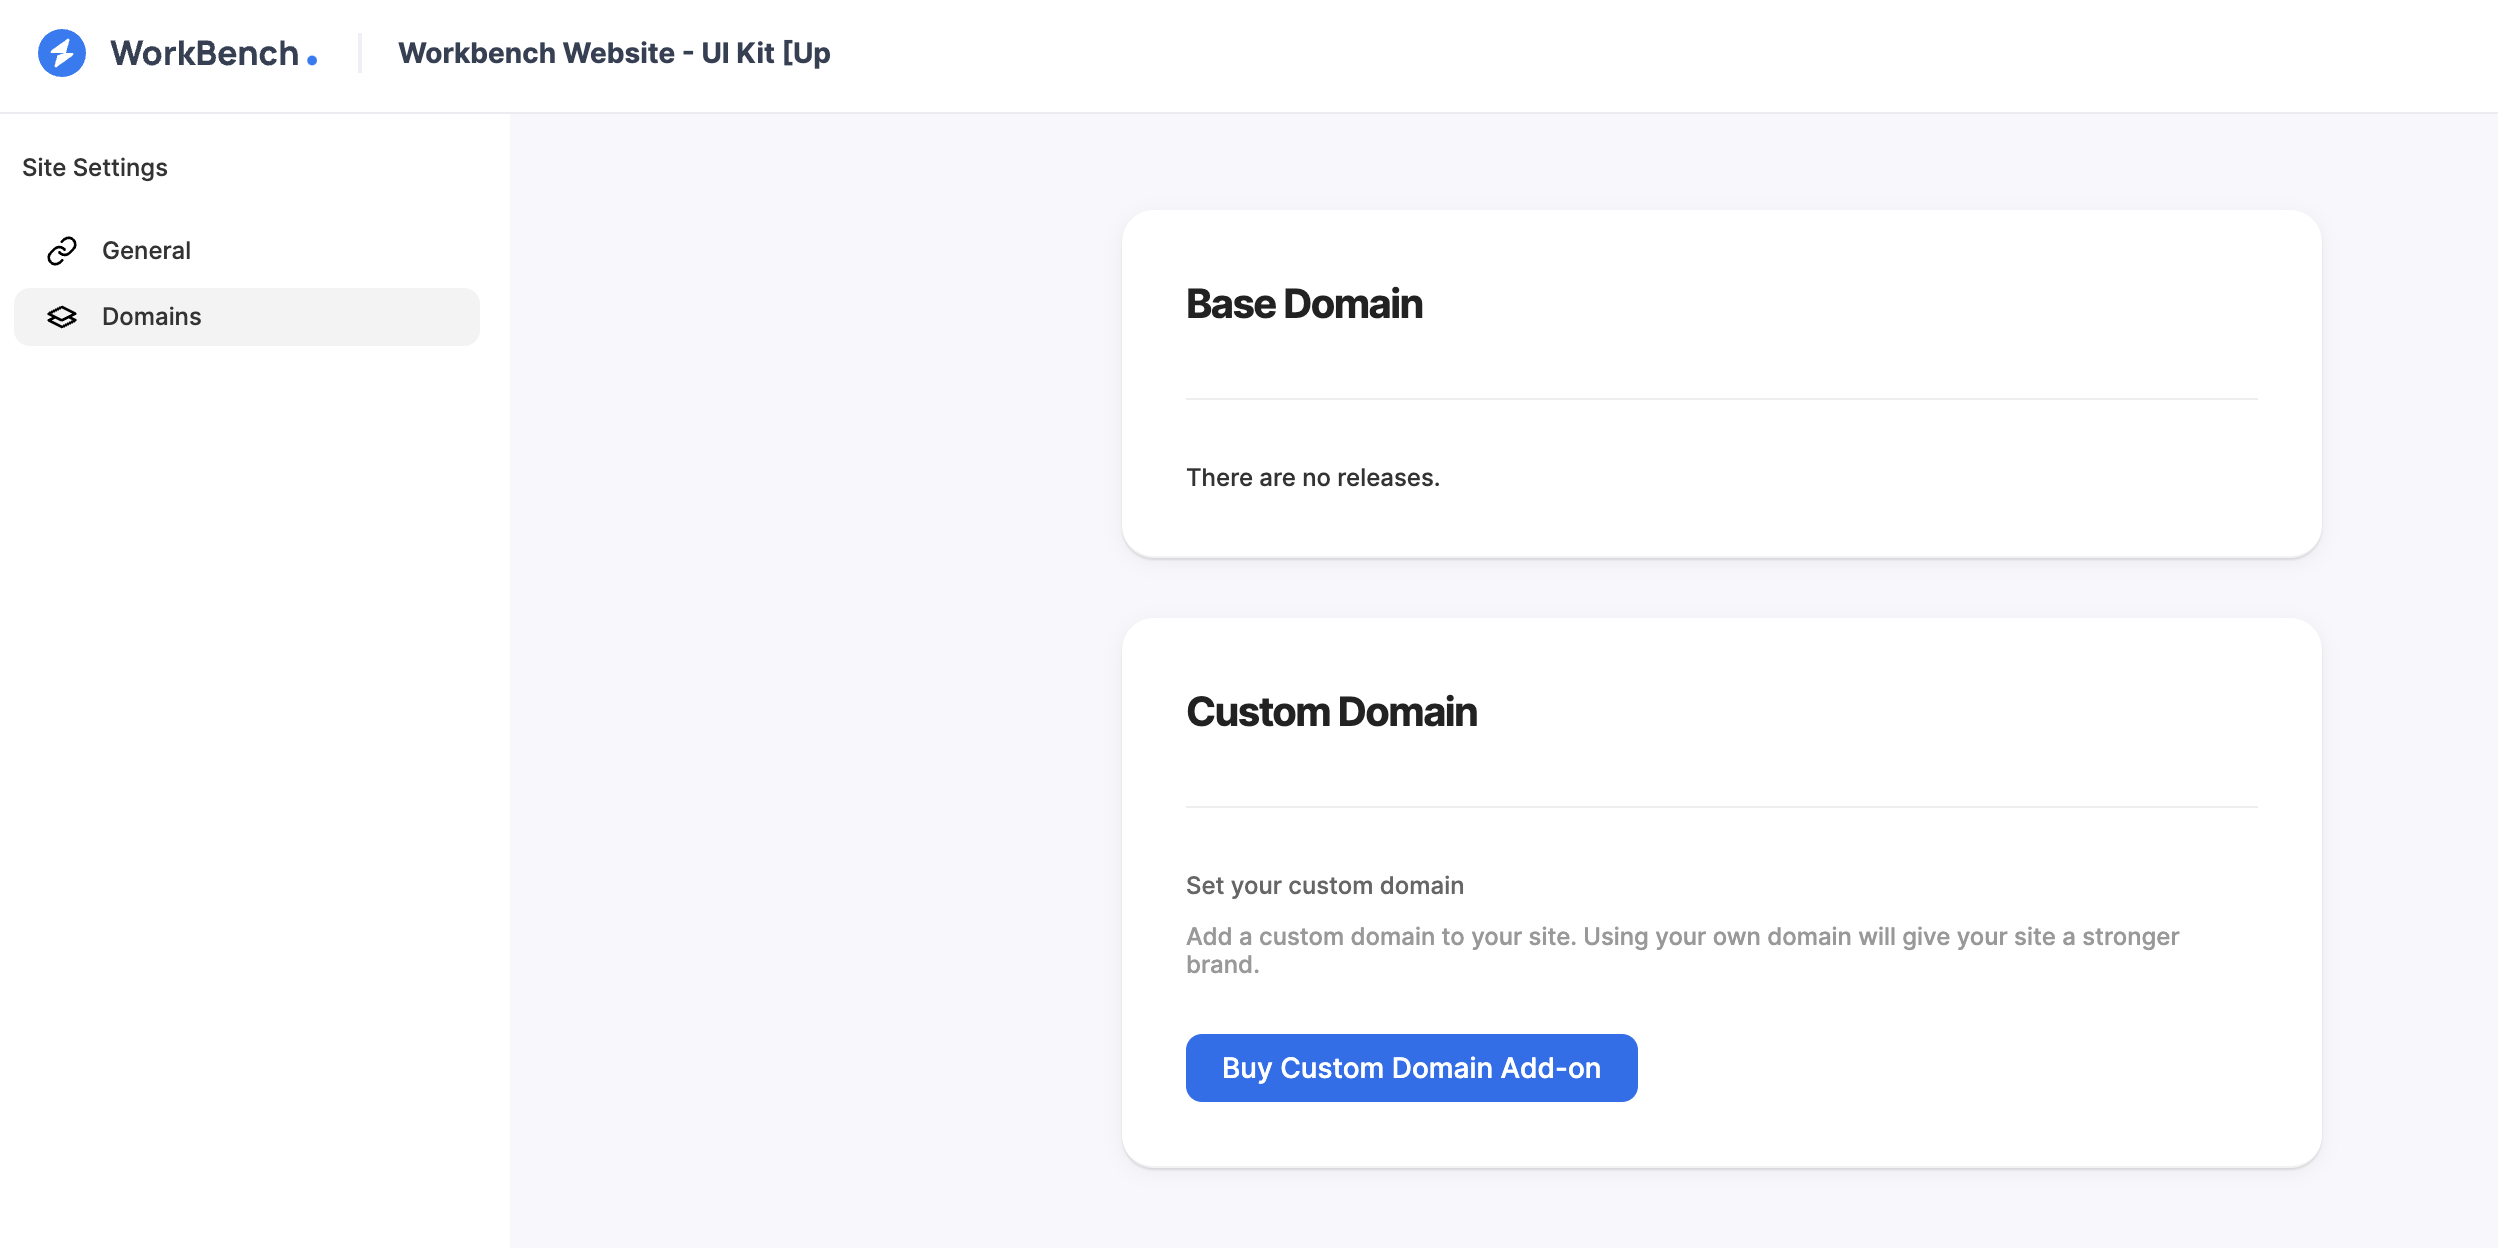
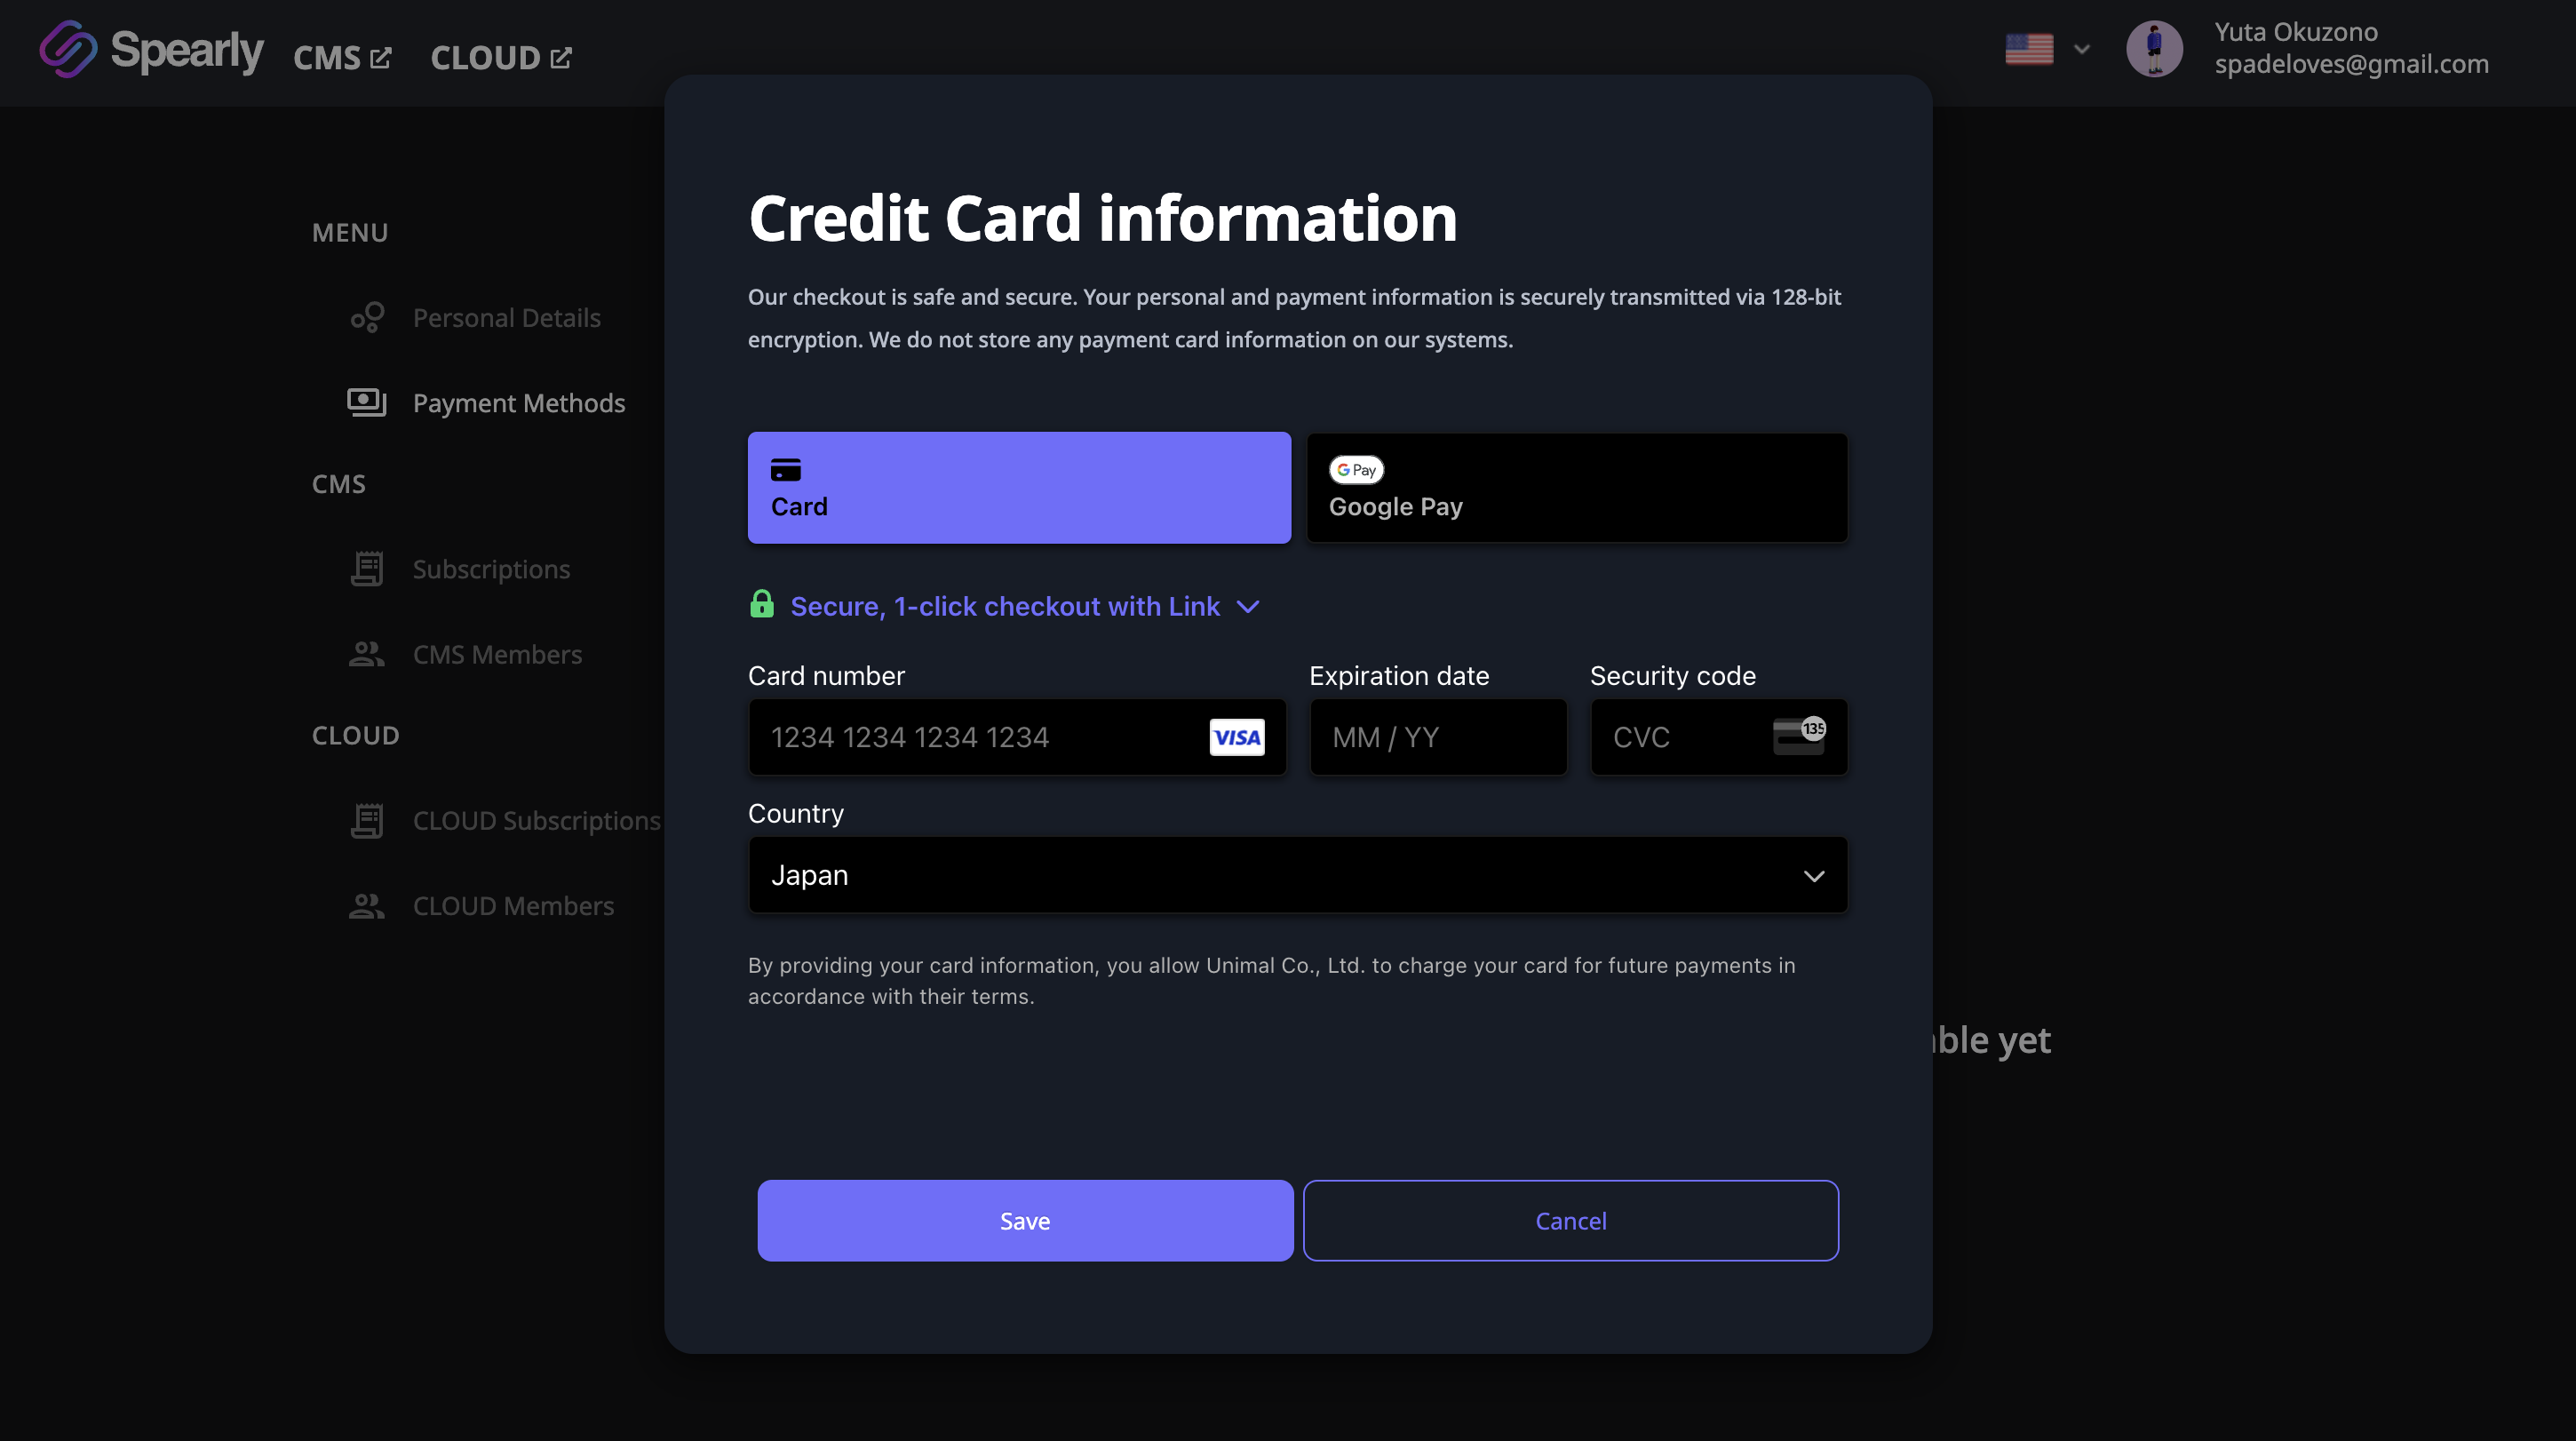
Purchasing a Custom Domain
To use a custom domain, a monthly subscription of 700 yen is required.
On the opened page, click "Purchase Custom Domain Add-on".
If you haven't added a payment method yet, a button to add a payment method will be displayed. Click this button to add your payment method.
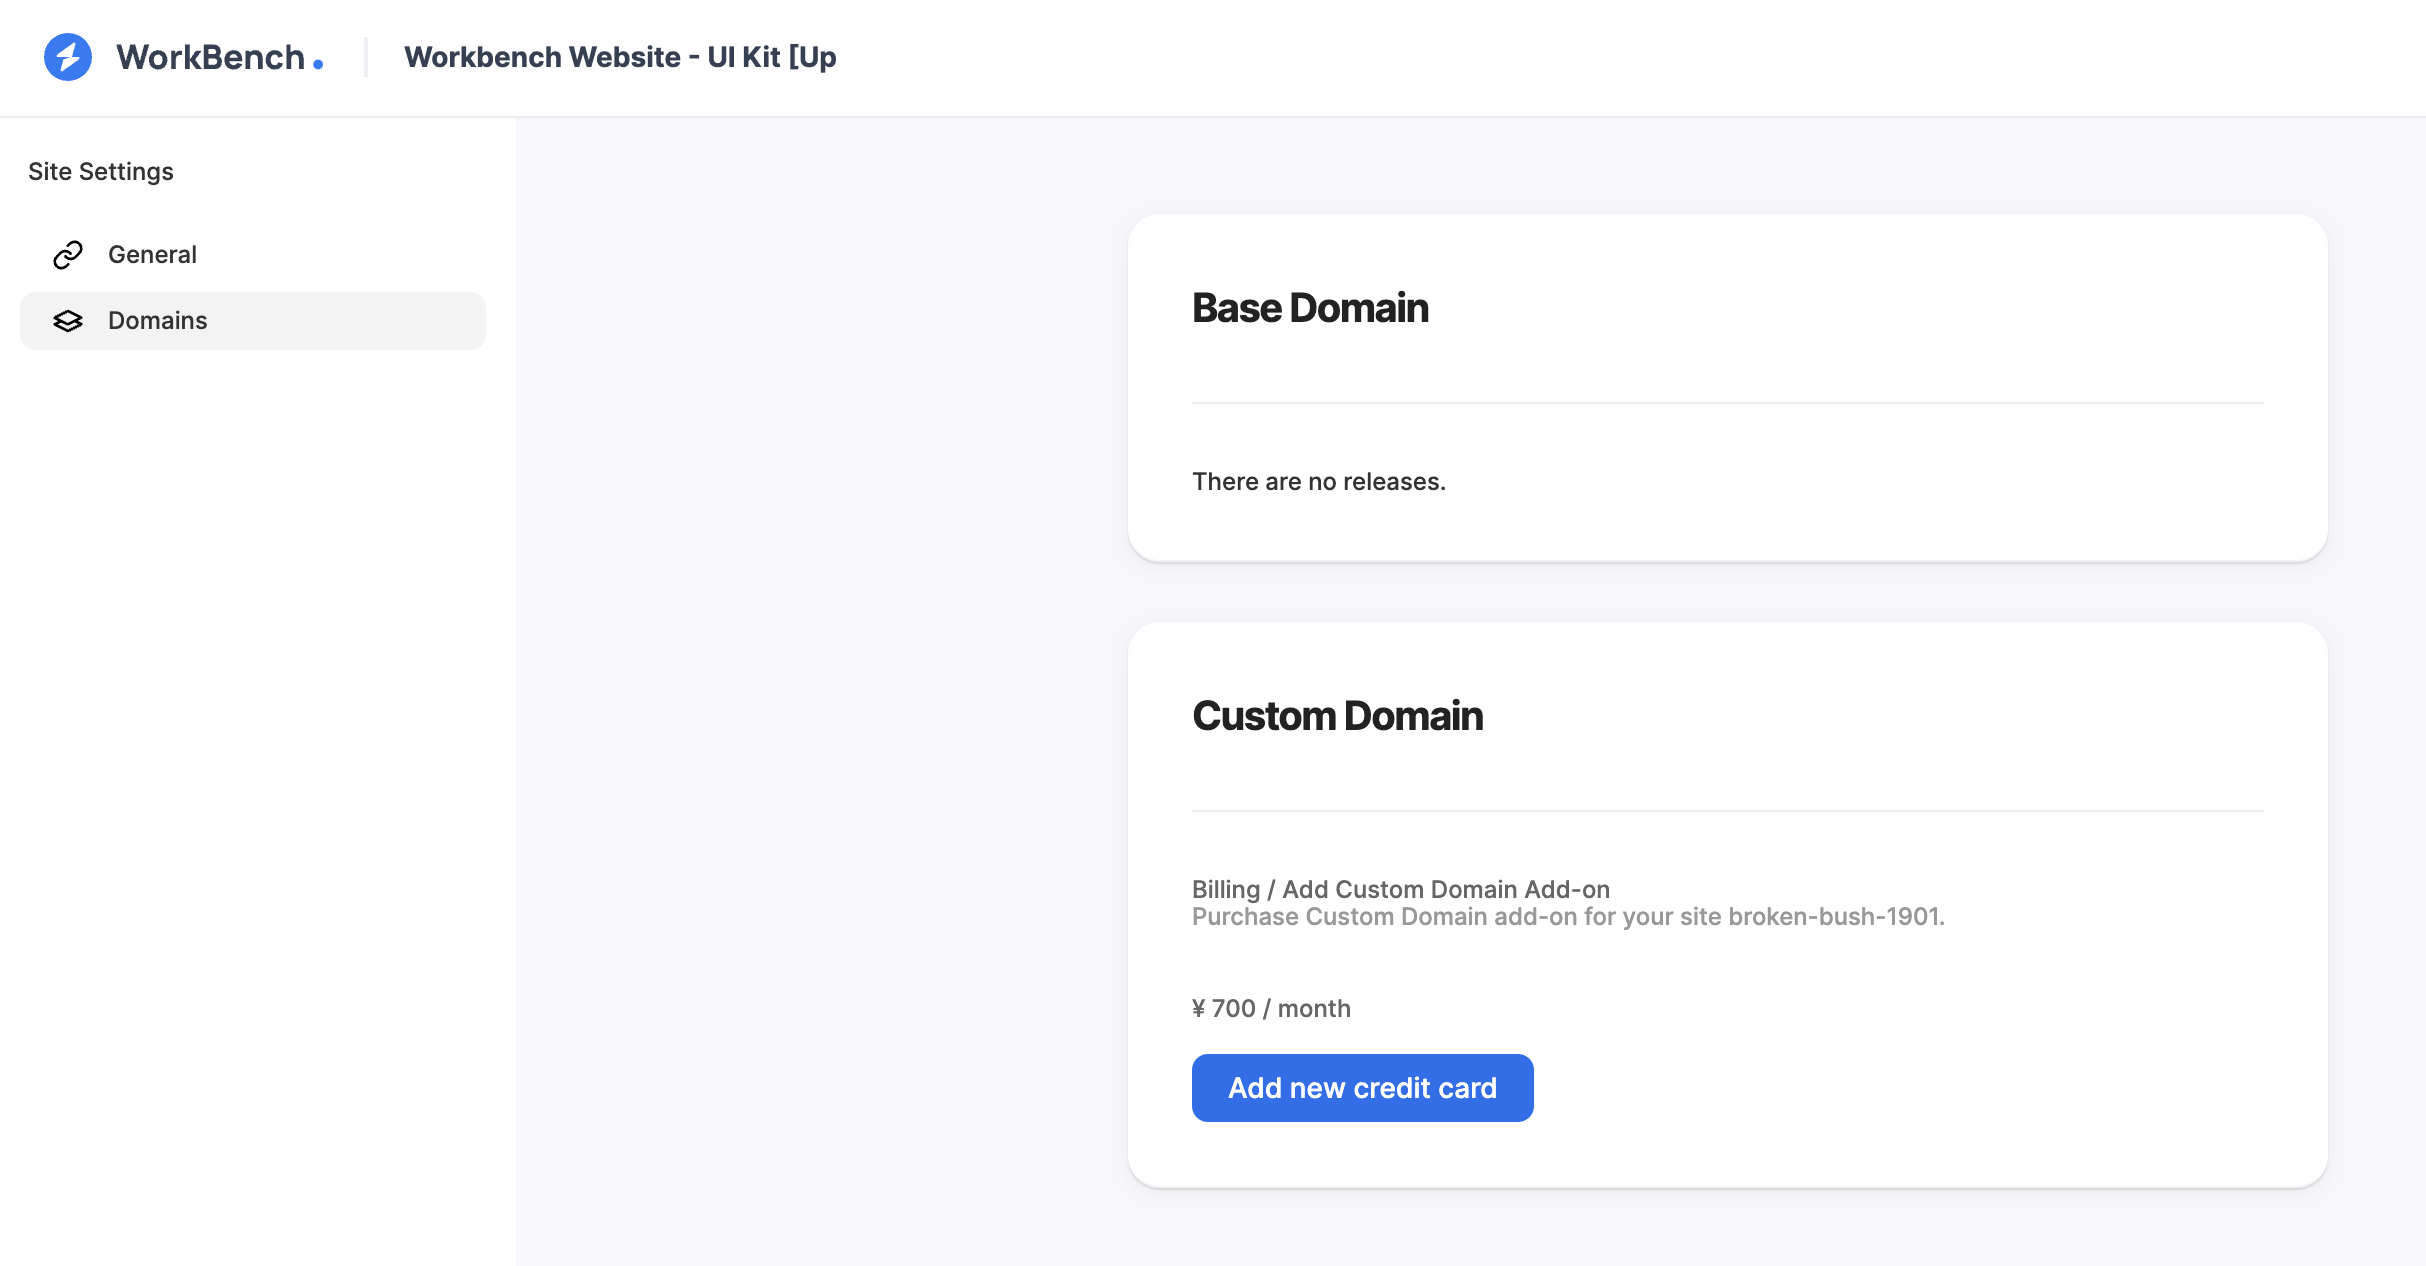
The payment method is set on the Spearly ACCOUNT page, which handles Workbench authentication.
After adding your payment method, let's return to the custom domain settings screen. If the display hasn't changed, please reload the screen.
If it looks like this, your payment method has been successfully added.
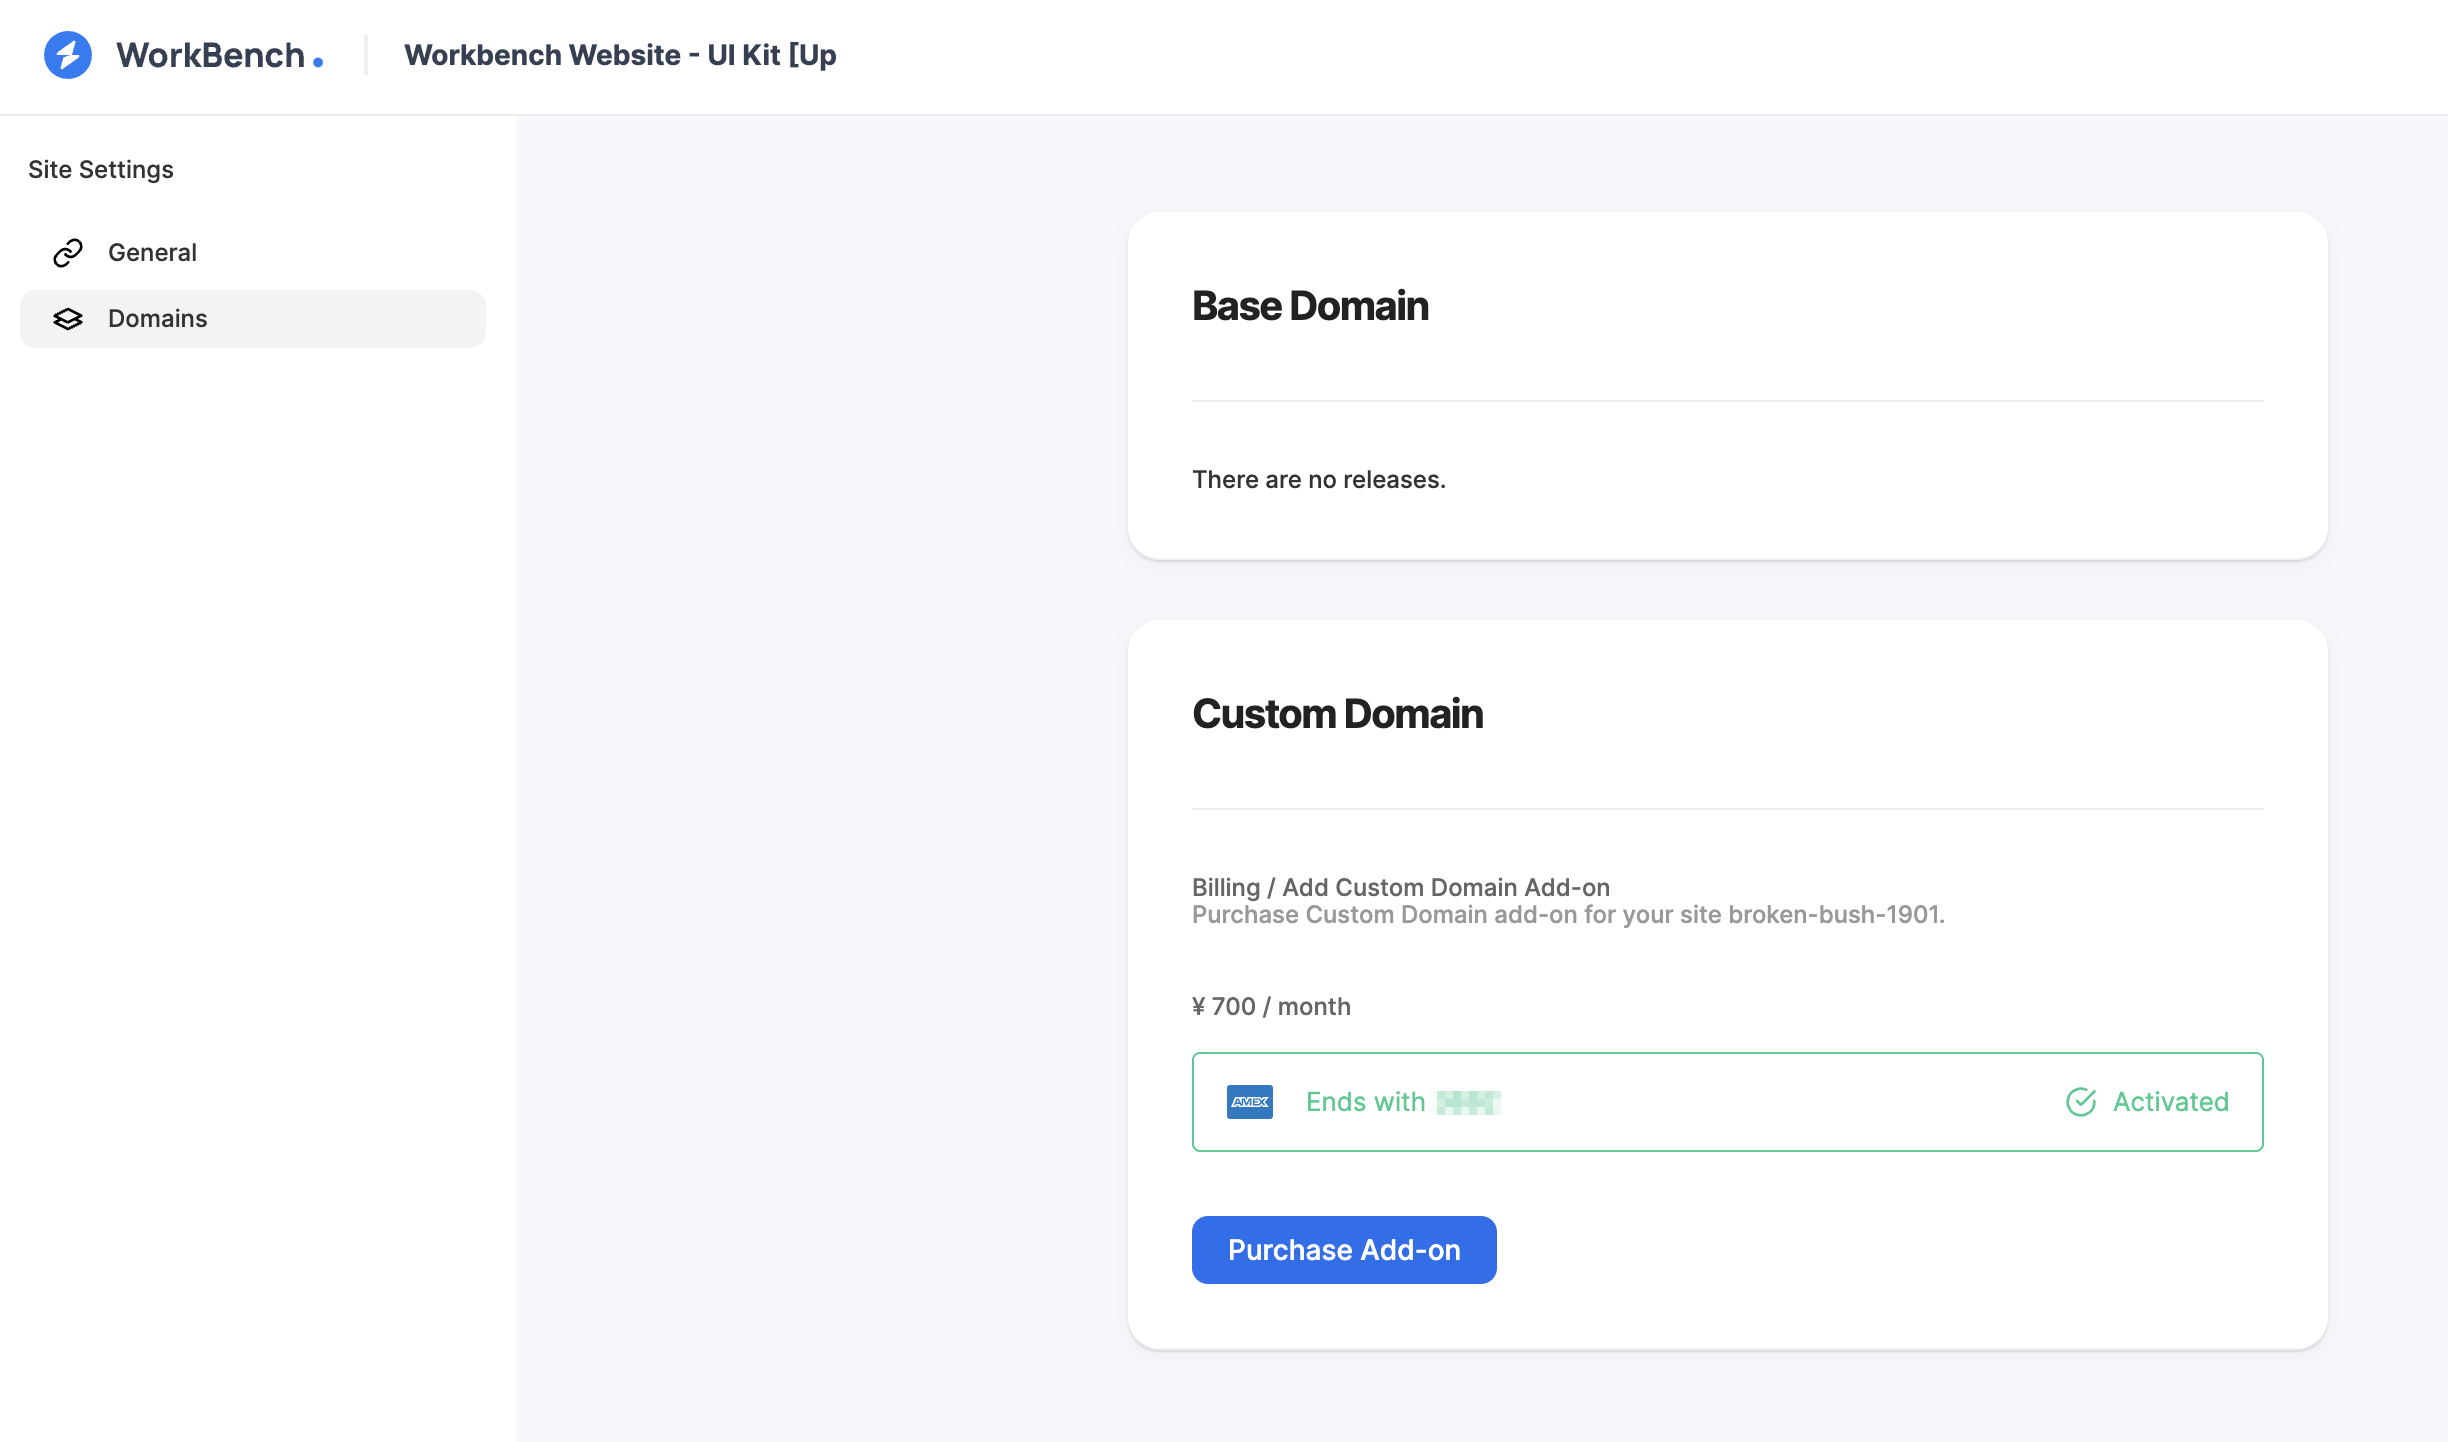
Click the button to purchase the add-on and subscribe.
Setting Up Your Custom Domain
1. Entering the Custom Domain and Applying Settings
After purchasing the custom domain, a screen where you can enter the domain you want to use will be displayed.
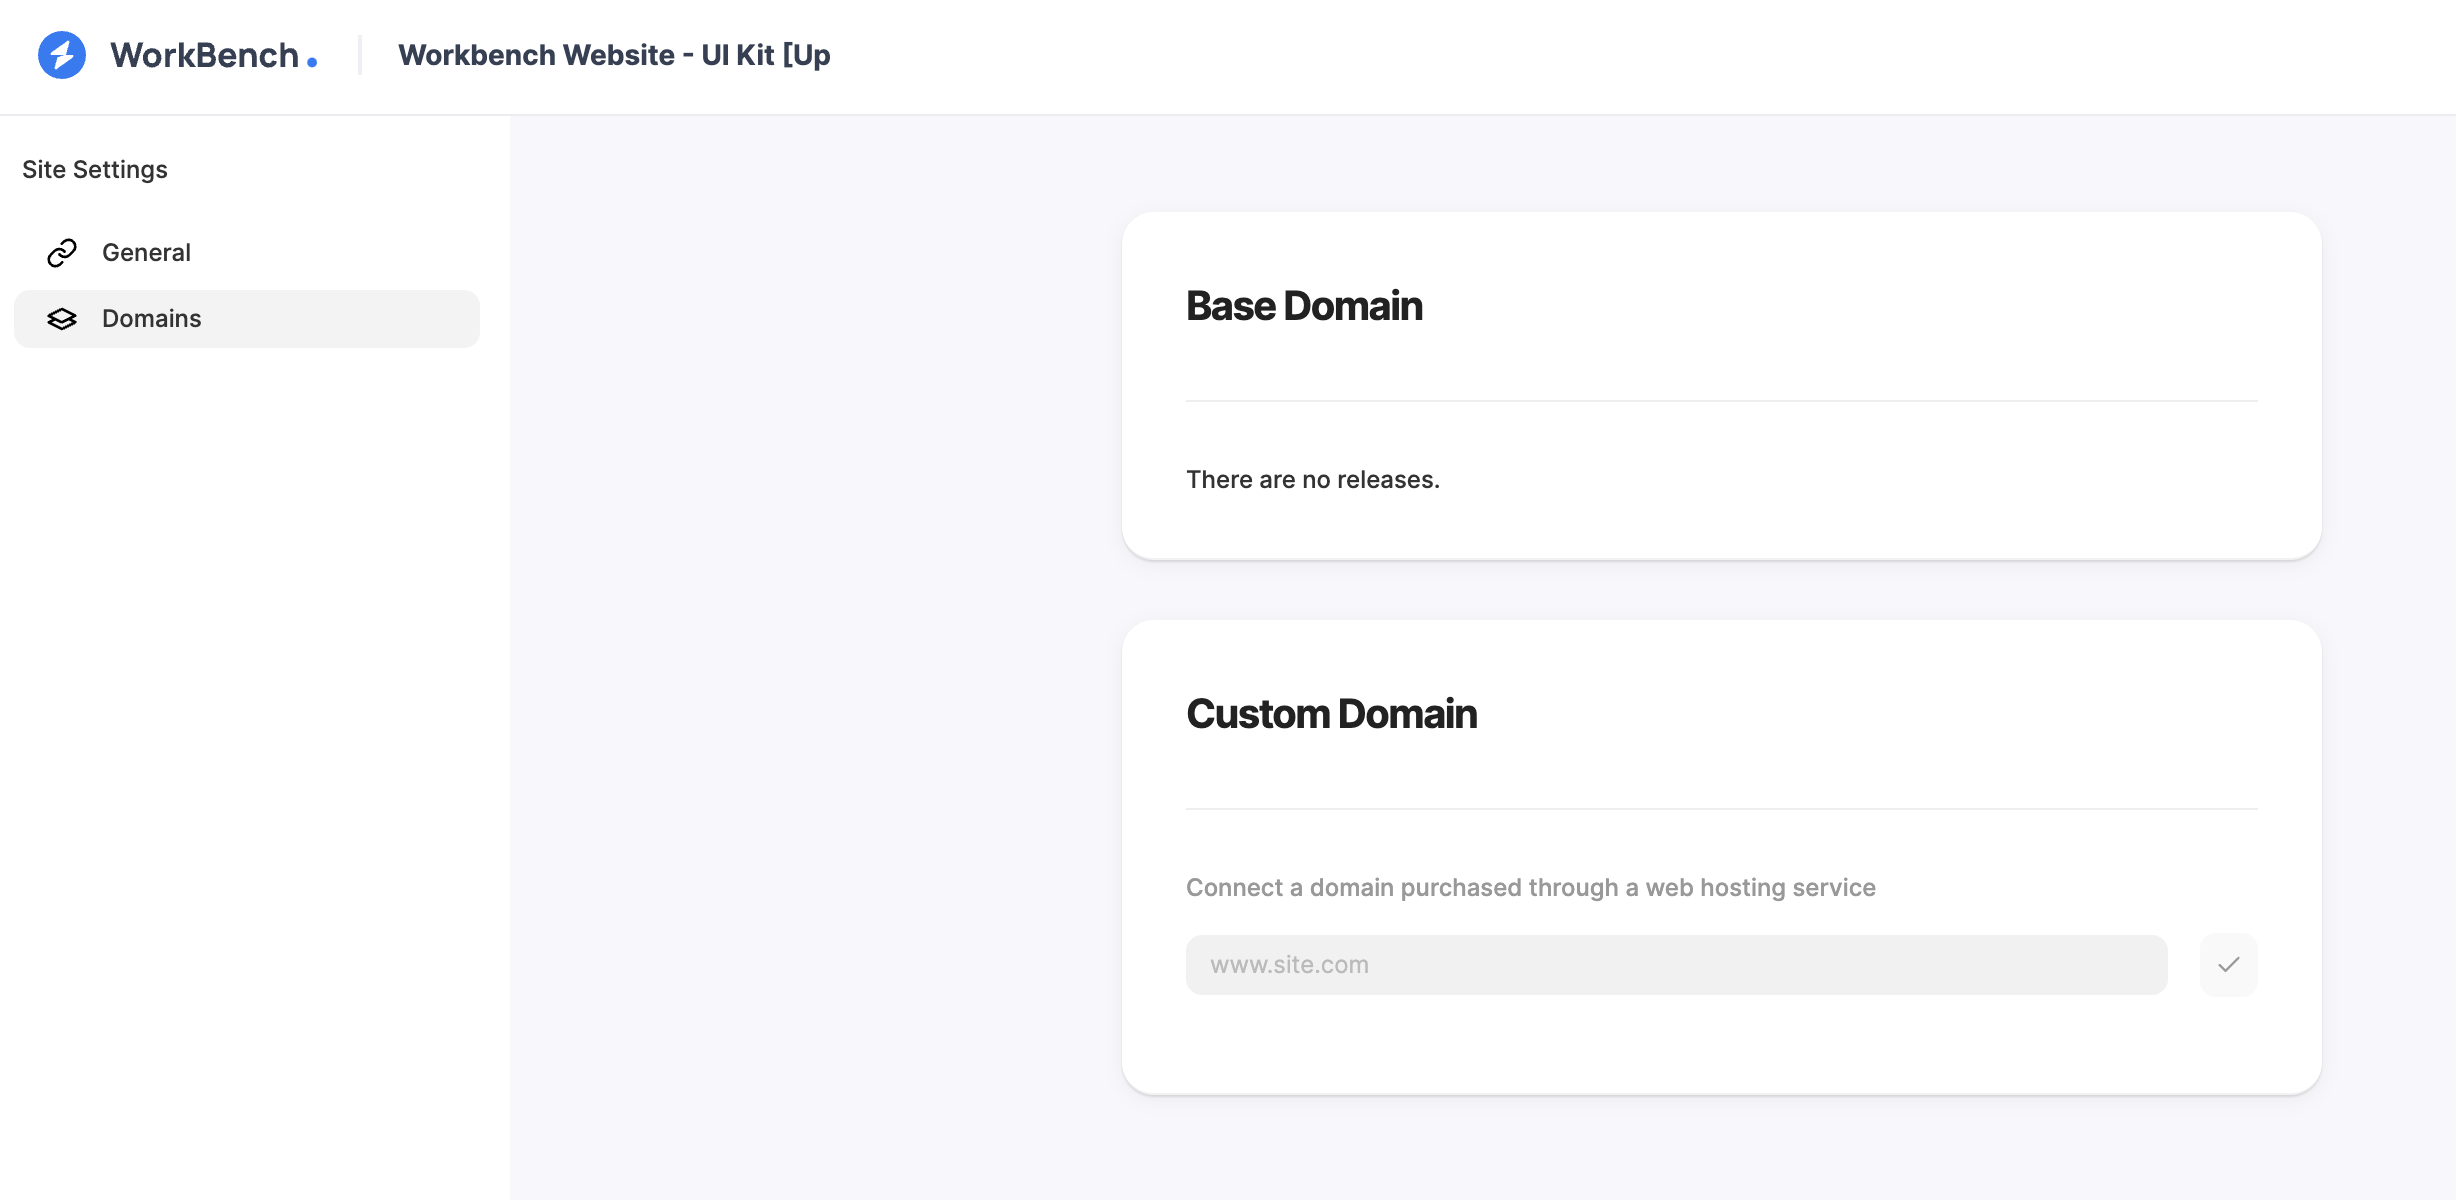
Enter the domain you want to use here.
After entering and submitting the domain, you'll see a screen like this. Click the apply button to reflect the domain settings on your site.
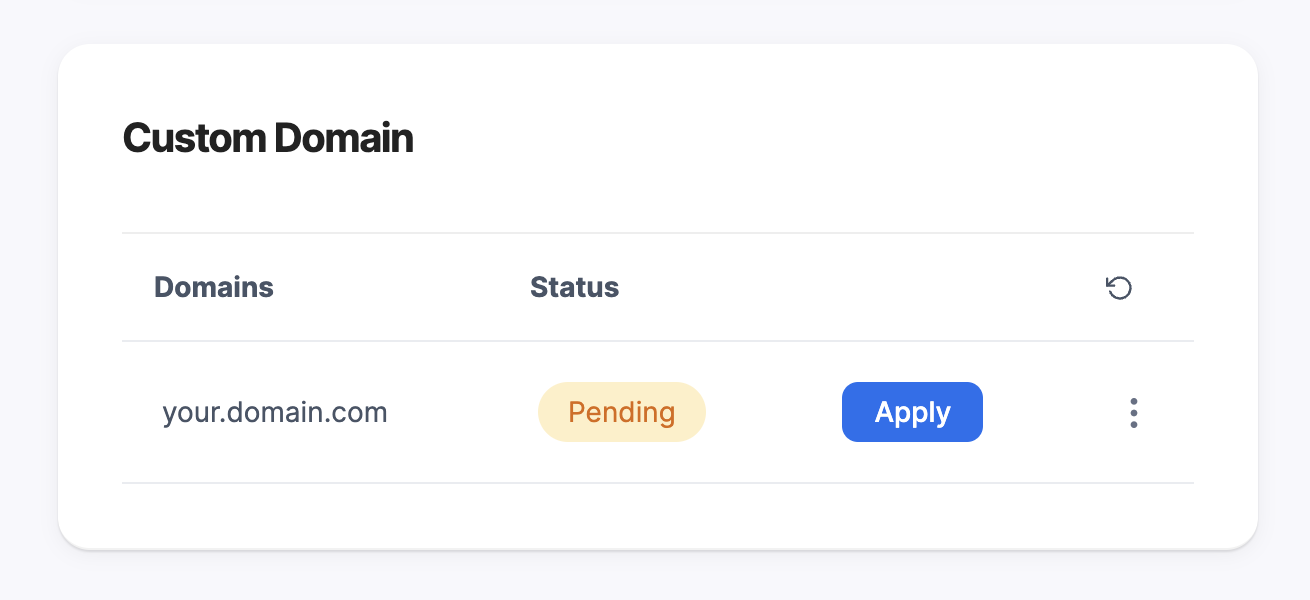
2. Adding DNS Record for Verification
After clicking the apply button and waiting for a short time, the CNAME record information for authentication will be displayed. Add this CNAME record to your DNS service.
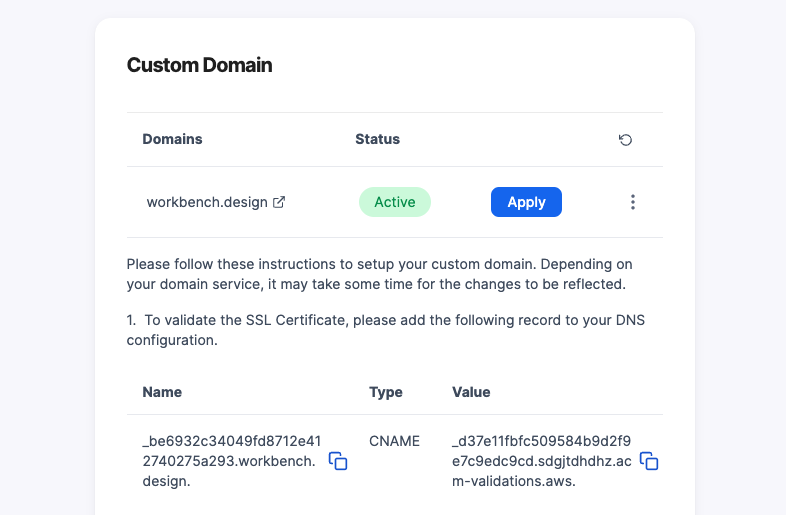
Wait for a while, then reload the page and check if the display has progressed to the next step.
INFO
This DNS record is to verify that you actually own the domain you want to use.
3. Adding DNS Record for Connection
Once the verification is complete, information for a second DNS record for connection will be displayed.
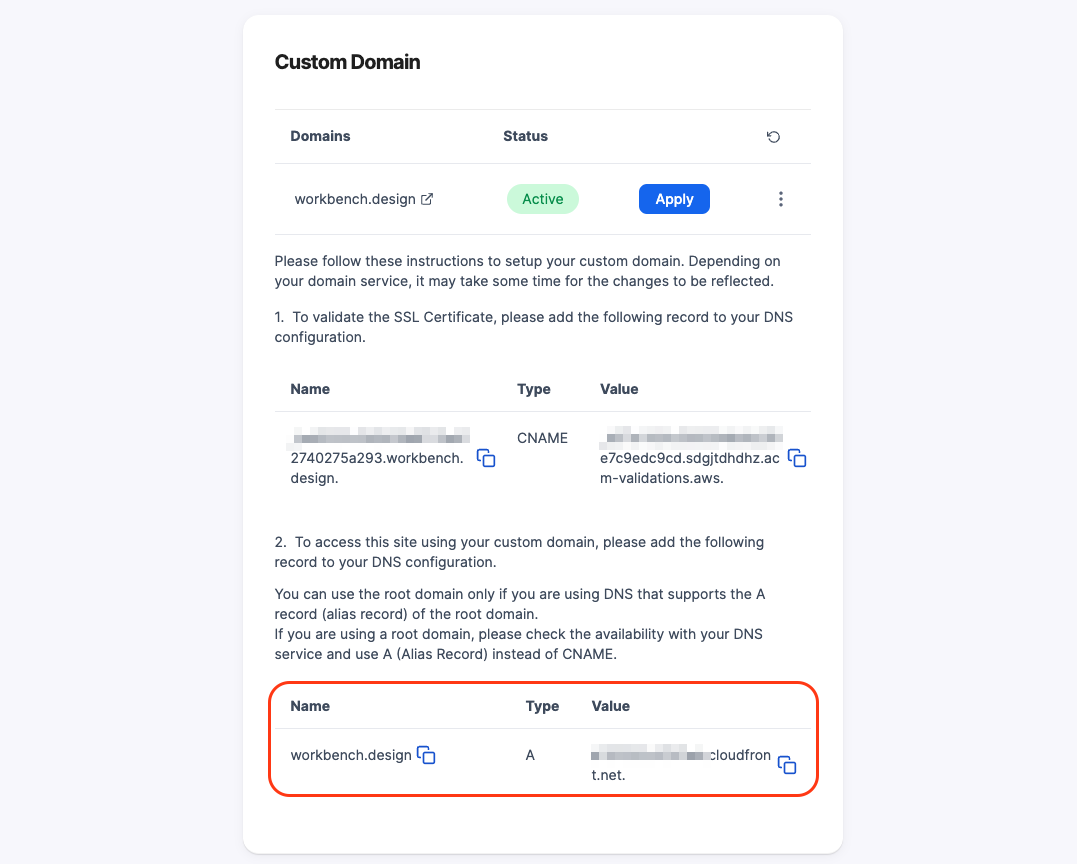
Just like with the first domain, add the record to your DNS service.
After adding the record and waiting for a short while, check if you can access the website using that domain.