Adding Expressions like Dropdowns
Workbench not only converts designs into websites but also allows you to add web expressions like dropdowns and modals using Figma's prototype features.
Currently supported expressions include:
- Dropdowns
- Modals
- Drawers
- Mouse hover effects
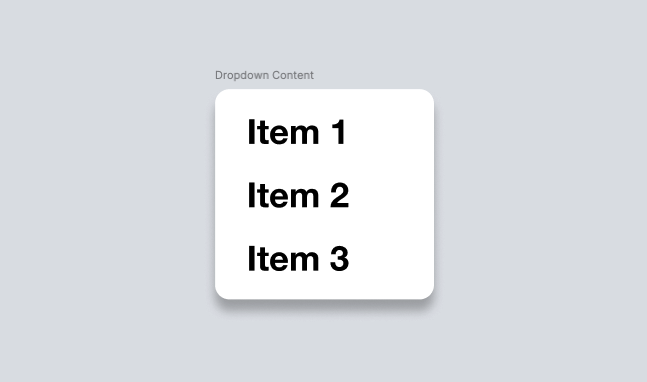
Dropdowns
Dropdowns look like this. They're suitable for header menu submenus and similar uses.
How to Set Up
1. Create a Frame for the Dropdown
First, create a separate frame for what you want to display as a dropdown.
2. Set Up the Created Frame in Prototype
Next, set up the interaction in Figma's prototype feature using the created frame.
- Set a click event for the element you want to open when clicked.
- Set it to open an overlay.
- Select the frame you created for the overlay.
- Choose either Instant or Dissolve.
- If you choose Dissolve, select either "Linear" or "Manual Bezier" for the animation speed.
After this setup, open the Workbench plugin and check if the dropdown displays correctly in the preview.
Modals
Modals are effective for displaying more detailed information about products or information you want to draw more attention to, like campaigns.
How to Set Up
1. Create a Frame for the Modal
First, create a separate frame for what you want to display as a modal.
2. Set Up the Created Frame in Prototype
Next, set up the interaction in Figma's prototype feature using the created frame.
- Set a click event for the element you want to open when clicked.
- Set it to open an overlay.
- Select the frame you created for the overlay.
- Choose either Instant or Dissolve.
- If you choose Dissolve, select either "Linear" or "Manual Bezier" for the animation speed.
- The position can be anywhere. If set manually, it will be set as
position: absolute;in CSS. - Finally, set the background.
After this setup, open the Workbench plugin and check if the modal displays correctly in the preview.
Drawers
Drawers are suitable for displaying menus in mobile layouts, among other uses.
How to Set Up
1. Create a Frame for the Drawer
First, create a separate frame for what you want to display as a drawer.
2. Set Up the Created Frame in Prototype
Next, set up the interaction in Figma's prototype feature using the created frame.
- Set a click event for the element you want to open when clicked.
- Set it to open an overlay.
- Select the frame you created for the overlay.
- Choose Move In. It will work in any direction. (This is the key difference from modals.)
- Select either "Linear" or "Manual Bezier" for the animation speed.
After this setup, open the Workbench plugin and check if the drawer displays correctly in the preview.
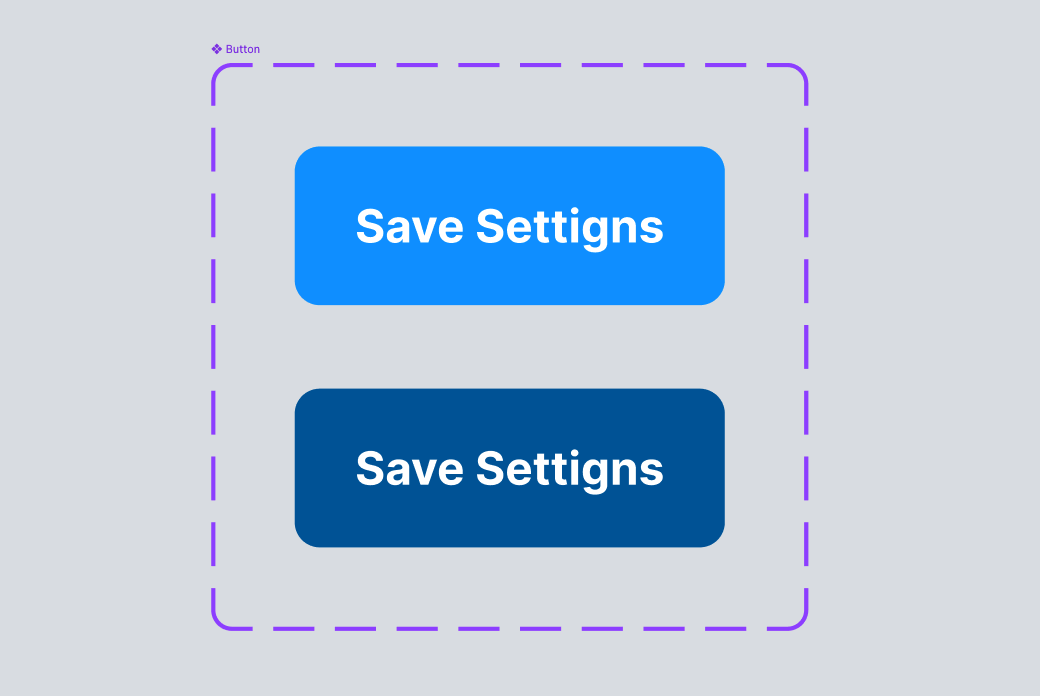
Mouse Hover
Mouse hover effects look like this. You can add effects to elements when the mouse cursor hovers over them.
How to Set Up
1. Create a Component for the Element You Want to Change on Mouse Hover and Add a Variant
First, componentize the element you want to display on mouse hover, and create a variant for its appearance on hover.
INFO
For information about Figma component variants, refer to this link.
2. Set Up Hover Behavior for the Created Component in Prototype
Next, place the created component in the frame you want to make into a web page, and set up the interaction in Figma's prototype feature.
- Set a mouse hover event for the placed component.
- Set it to "Change to".
- Set the hover variant you created earlier.
- Choose either Instant or Dissolve.
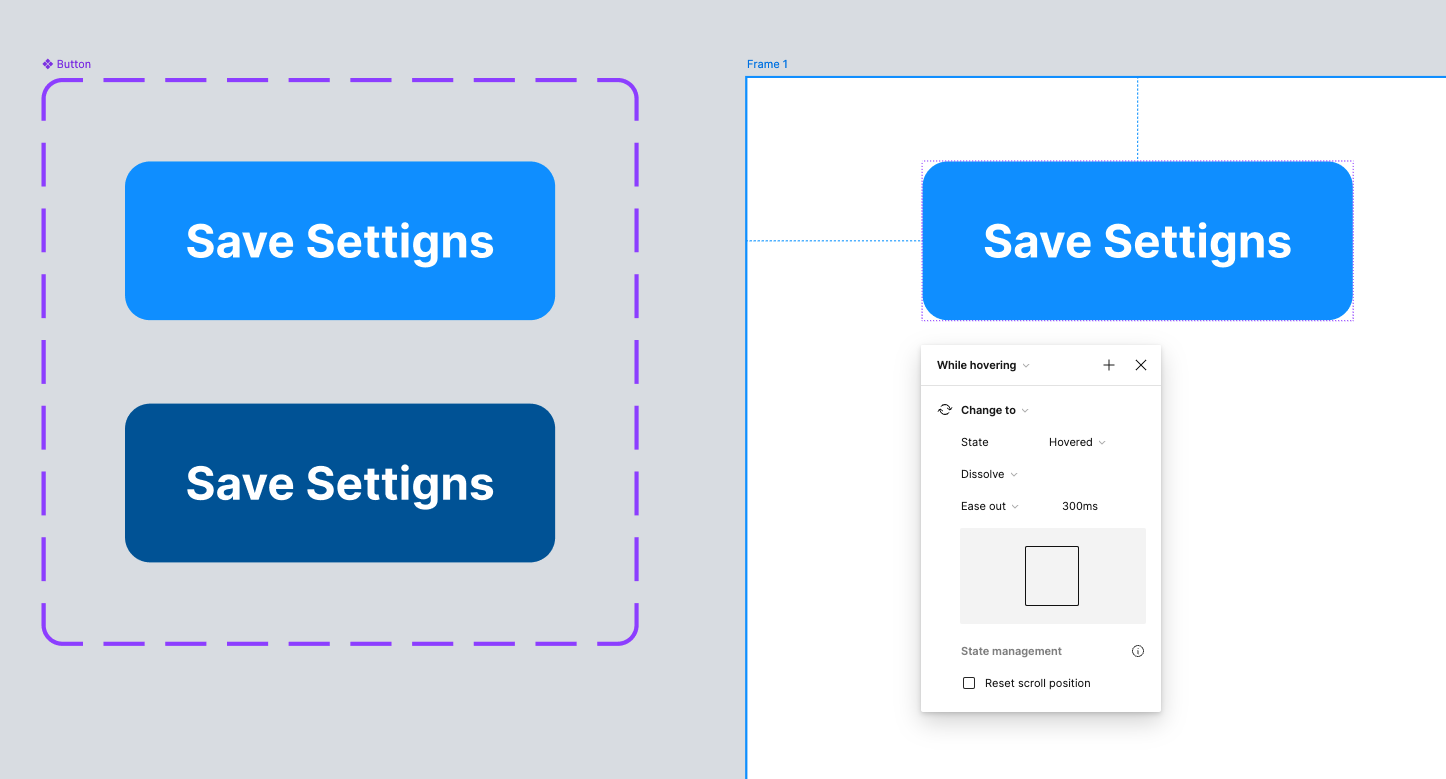
After this setup, open the Workbench plugin and check in the preview if the element changes to its hover appearance when you hover the mouse over it.